Are you having trouble with date formatting in Excel 365 Online? It’s a common issue where dates might appear in an American format (mm/dd/yyyy) or a UK format (dd/mm/yyyy), causing confusion and errors in your data.
Whether you’re dealing with mismatched date formats or want to customise the date display to suit your needs, this blog is here to help. I’ll guide you through checking and changing date formats in Excel 365 Desktop and Excel 365 Online.
By the end of this guide, you can ensure your dates are displayed exactly how you want them, making your data more readable and accurate. Let’s dive into the solutions and make your Excel experience smoother and more efficient.
Why is the Excel 365 Online date format not working?
You may be experiencing problems within your files, files you share with others, or both. Saving files into OneDrive or SharePoint is a fantastic way for team members to update and work with files from outside the office. It is also an excellent way for everyone to access the same file, inside or outside the office. However, it can be super frustrating when data is entered incorrectly, as this impacts everyone using the file, and fixing formatting problems can waste your precious time.
Different date formats
Our client’s team had a problem with date formatting in Excel 365 Online when some members were updating dates in a shared file in the Desktop version of Excel 365, and others were updating dates in the same file using Excel 365 Online, the web browser version. Some team members used Excel 365 for desktop work in the office and Excel 365 online when working from home.
When dates were entered using Excel 365 desktop, the date format was correct. Sadly, the date formats kept changing when anyone accessing the file using Excel 365 online updated the file. The team continually battled with dates entered as mm/dd/yyyy when they typically used the dd/mm/yyyy format.
Additionally, some dates were aligned to the left of the cell and some to the right, which happened in both the desktop and web versions of Excel.

This is how we fixed it.
Tip #1 Check the Date format in Excel Desktop
The first thing we checked was the date formatting had been set correctly as dd/mm/yyyy in Excel 365 Desktop.We work with a New Zealand date format of day/month/year, a.k.a dd/mm/yyyy, e.g. 31/01/2022.
Change the date format in Excel Desktop
1. To check the current date format, select the cell range containing the dates, then right-click any cell in the selected range.

2. Click Format Cells.3. On the Number tab, click Date and then check that your date is set to the format you require. You can see in the image below that ours is set to dd/mm/yyyy and the Sample box shows the date as 31/01/2022 which is exactly how we are wanting it to be displayed. Also, check that the Locale option is set to your location. Ours is set correctly with English (New Zealand).

Notes: If the date format is set incorrectly, you can select the format you require from the Date options. Additionally, if the date format is showing as an American date format, you can easily change the date format in Excel by selecting Custom from the Category group and then changing the Excel date format to the format you require. You can see in the image below that ours is set to dd/mm/yyyy, and the Sample box shows the date as 31/01/2022, which is exactly how we want it to be displayed for a New Zealand date format.

If you wanted month/day/year you could enter a new format into the Type box. For example, for an American date format, you could type mm/dd/yyyy, as shown below.

Excel Online date format not working
We found that the date settings were set correctly in Excel 365 Desktop. However, even if we clicked OK to reapply the formatting on every selected cell, several cells were still formatted incorrectly, with the date still left-aligned in the column. We used the steps in Tip #3 below to reset the dates to the correct format. Additionally, when a team member accessed the file using Excel 365 Online, the dates reverted to being formatted incorrectly. We then tried the steps in Tip #2.
Tip #2 Change the date format in Excel 365 Online
When team members edited the sheet in the browser version of Excel (Excel 365 Online) the formatting changed to month/day/year, a.k.a mm/dd/yyyy, even though the date formats were set correctly in Excel 365 Desktop. This was the reason some of the dates were being left-aligned in the column. For example, 31/01/2022 was entered incorrectly because the web version of Excel 365 saw the date as mm/dd/yyyy. Since there isn’t a 31st month, Excel saw this as a mistype and entered the date as text, not a date. However, because the date format was set to read month then day, 01/02/2022 was being entered as a date, but it was being held as the 2nd of January, not the 1st of February.
Change the Date Format in Excel 365 Online
We followed the same steps as for Excel 365 Desktop to check the current Excel date format. To do this, follow these steps :
1. Login to your Excel 365 Online account and open the file.
2. Select the cell range containing the dates, then right-click any cell in the selected range.

3. Click Number Format.
4. The Custom option shows that the date format is set to dd/mm/yyyy. However, the dates were still being formatted incorrectly.

Note: there isn’t currently a way to change the date format within the Custom area in Excel 365 Online. To do this you will need to open the file into Excel 365 Desktop and follow the steps outlined above.
5. Click Date in the Category list.

6. Now, this is the vital part. Check the Locale (location) setting. We had such a mix of settings for this. Some team members had English (United States). In contrast, others had Armenian or Azerbaijani!
7. Select the correct date format you require from the Type list.
8. Select your location from the Locale (location) list.
Note: please be aware that changing the Regional format settings in Excel affects dates, currency, formula delimiters and more. For more information, please check the Microsoft support page online.
9. BEFORE you click OK, select ‘Set this location as the preferred regional format’ option in the box. If you don’t do this, the date format will change itself back to its former setting again.
10. When you click OK, the file will update.
11. Once the new date format is in place, all dd/mm/yyyy date entries will be formatted with the correct Excel date format. If existing date entries haven’t been updated, please check the steps in Tip #3 below.
Change the Excel 365 Online Regional Format Settings
You can also change the Excel 365 Online Regional format settings through the File tab, Options. To do this, follow the steps below.
1. Click the File tab and then click the 3 dots for access the More File Options.

2. Select Options.3. Now click Regional Format Settings.

4. Select your preferred regional format from the drop-down list and then click Change.

Tip #3 Change existing dates to the correct date format in Excel
The tips above will set your date format for all dates entered going forward.However, you may now be left with existing dates that are still in the incorrect format.Let’s look at a quick way to fix this.1. Select the cells that need to be reformatted with the correct date format.2. From the Data tab select Text to Columns.3. Follow the instruction for the version of Excel you are working in.
Change existing dates in Excel 365 Online
Remove the selection from all the Delimiter options and then click Apply.

Change existing dates in Excel 365 for Desktop
1. On Step 1 of the Convert Text to Columns Wizard select Delimited and then click Next.

2. On Step 2, leave all the delimiter options unchecked and then click Next.

3. On Step 3, select Date from the Column data format option box, and then select the format that the date is currently using. For example, if your date format is currently mm/dd/yy, and you want to change it to your default locale setting, select MDY. If it is dd/mm/yy and you want the dates to be formatted as American date format select DMY.

4. Click Finish.Your dates will now be updated and the correct Date Formats reapplied.
Watch the excel online date format not working tutorial
[Watch on YouTube] / [Subscribe to our YouTube Channel]
Was this post helpful? Let me know in the comments below.
Want to Learn Excel Properly?
Join the Excel at Work Learning Hub
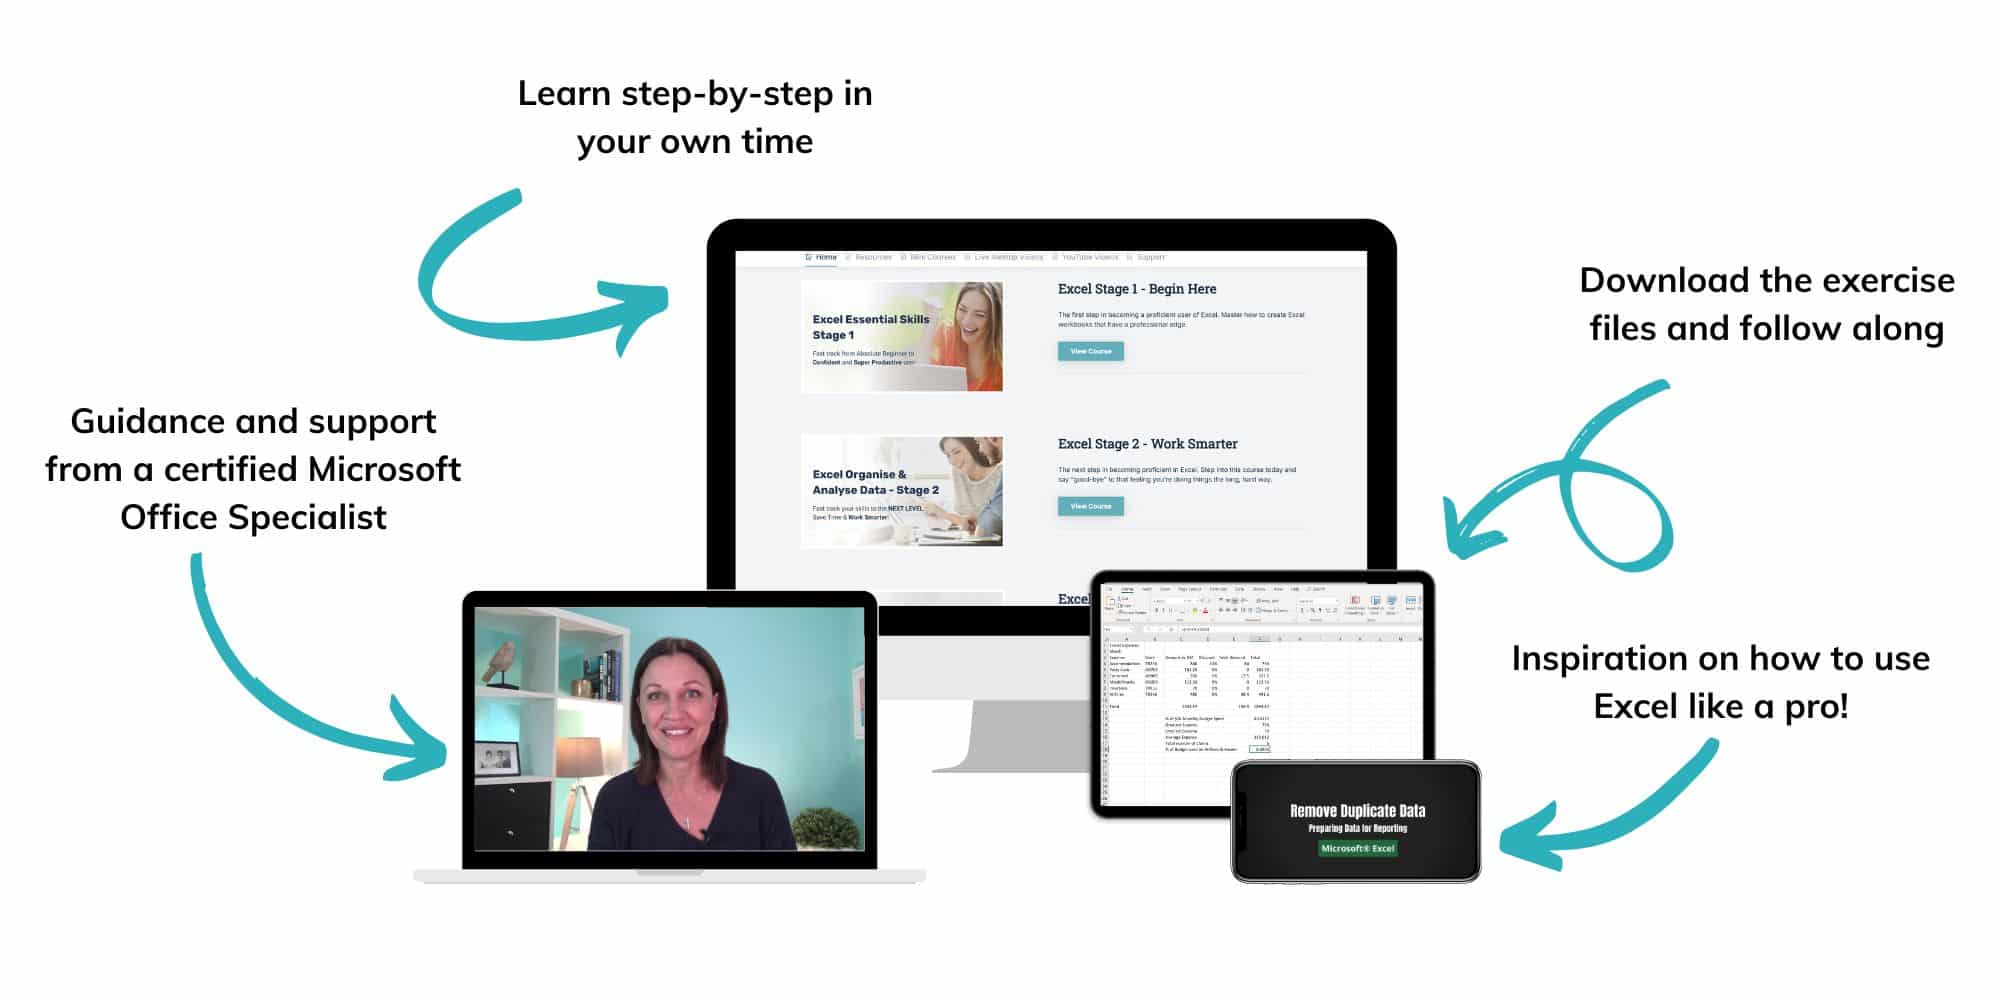
The Excel at Work Learning Hub is an online self-paced Excel training membership designed for people who use Excel at work—in offices, on sites, in schools, in small businesses, and everywhere in between.
Go from Beginner to Confident – Guaranteed!
Only $59NZ /month
Cancel anytime • No pressure • 14-day 100% Money Back Guarantee

Certified Microsoft Office Specialist
Was this blog helpful? I’m here to empower your journey with Excel, aiming to make your daily tasks more efficient and boost your potential.
Share your thoughts in the Comments below – your insights not only enrich others, they also help me tailor future content to your needs.
And if you’re looking to take a step further, join our exclusive ‘Insider Group‘. As a member, you’ll receive Weekly Super-Tips, and early access to in-depth tutorials. Sign up Today!
Happy Excel-ling!!


Excelent, had been strugling with default date format on M365. Thanks
So happy our blog helped you out James. Thanks for letting us know 😊
Thank you. This has caused our team frustration and your detailed article has been very helpful in solving the issue that users were just putting up with. Thanks for making the effort to document this so nicely
Thanks Doug. We really appreciate feedback on what we share. So happy we could help you and your team.
Thanks you so much, your guide worked even though MS have changed yet again. Now instead of giving you the 3 dots you have to select ‘Options’ and you will be given Regional Format Settings
Thanks so much for sharing this Neil! Much appreciated, Sharyn.
this formula TEXT(A1;”dd-mmm-yyyy”) doesn’t work in M365 because of this format not available. Is there a way to modify this? apart from creating a choose formula to reconvert the month in a 3 letters text… the original cell has that format (dd-mmm-yyyy).
Thank you, you are the closest answer I found yet.
Hi Michel. I’ve tried all kinds of scenarios in the online version with no luck sorry. So frustrating right?! So we now format our dates in Excel Desktop and update online (sigh). Sorry I can’t be of more help. Hopefully Microsoft will add this format sometime soon. Warmest regards, Sharyn