Needing to create a single worksheet, or an entire workbook, where you do not want other users to be able to make changes other than within a restricted area? Restricting editing in worksheets and workbooks is the best way to protect your key data and calculations from being over-typed, or worse, deleted.
By protecting a selection of cells, the full worksheet or entire workbook you can feel confident you have minimised the risk of unwanted changes happening.
By default all cells in an Excel worksheet will be locked (unable to be changed) if Protection is turned on.
It is unlikely that you would need to lock all cells in a workbook, as this would mean no changes could be made to any cell. Occasionally you may wish to protect a whole worksheet if it links to others in the workbook. Therefore before you apply protection, you must first format the cells or sheets you want to be unlocked (able to be changed) once the worksheet is protected.
Note: before you choose to apply protection please understand that it isn’t bullet-proof and that others can access the data if they have a mind to. For more information please read my blog “Don’t be fooled – protecting isn’t bullet-proof”.
First you must unlock the cells you want to continue to access
- Select the cells that you want to be able to continue to edit once protection is active.
- From the Home tab, in the Cells group, click the Format option.
- The Lock Cell option will display an orange indicator around the padlock icon. This indicates the current selection is locked. Click Lock Cell to unlock the selection.

4. The selection will now be formatted as unlocked. Once the worksheet is protected these cells will remain unprotected.
Applying protection to a worksheet
- To protect the worksheet do one of the following:* From the Home tab, in the Cells group, click the Format option and then select Format Sheet.* From the Review tab, in the Changes group select Protect Sheet.* Right-click the sheet tab and then select Protect Sheet.
- In the Protect Sheet dialog box, type a password to protect the worksheet.
Note: a password is optional. If you do not require a password leave the password text box empty and click OK.

3. In the Allow all users of this worksheet to option box select suitable options for your worksheet.
4. Click OK. If a password was applied Excel now asks you to confirm your password by re-entering it in the Confirm Password dialog box.

- Click OK. Your document will now be protected and only the cells that you selected to be unlocked will be able to be changed.
Note: Excel offers a caution not to forget your password, as the password cannot be recovered if forgotten. Please note that passwords are case sensitive; so if you typed the password in UPPERCASE you will need to always type it in UPPERCASE to unprotect the file.
Removing protection from a worksheet
- To remove protection, from the Review tab, in the Changes group select Unprotect Sheet.
- If required, type in your password to unlock the worksheet. Note: you will need to type in the password in the same case you used when you applied the password.
- Click OK. The protection will now be removed.
Protecting a workbook
Use Workbook Protection when you do not want other users to be able to change your workbook set up. For example, you may not want users to be able to delete, add or unhide worksheets to the workbook, or you may have the workbook displayed with worksheets arranged in a way that you do not want changed.
- To apply workbook protection from the Review tab, in the Changes group select Protect Workbook. The Protect Workbook dialog box will be displayed.

- Select the option you require:* With the Structure option selected you choose not to allow any changes to the structure of the workbook. Therefore no worksheets can be inserted or deleted, moved, hidden, unhidden or renamed.* If you select the Windows option, Excel will not allow changes to the display of the windows in the workbook. Therefore the windows cannot be moved or resized. Excel will also remove the minimise and maximise buttons, the document Control box, and the window sizing border from view.
- If a password is required ienter a password to protect the workbook. This is optional. Click OK.
- If a password has been used Excel will now ask for confirmation of the password. Re-enter the password.
- Click OK. Your workbook will be protected from changes to the windows and structure of the workbook. Once a workbook is protected you will find all workbook functions (i.e., delete sheet, insert sheet, rename, etc.) will be disabled on the Ribbon and shortcut menus.
Removing protection from a workbook
- From the Review tab, in the Changes group click Protect Workbook.
Note: if a password was applied to the protection you will need to type the password in the Unprotect Workbook dialog box and click OK.
2. Your workbook will now be unprotected and able to have windows and structural changes made to it.
Was this blog helpful? Let me know in the comments below.
Want to Learn Excel Properly?
Join the Excel at Work Learning Hub
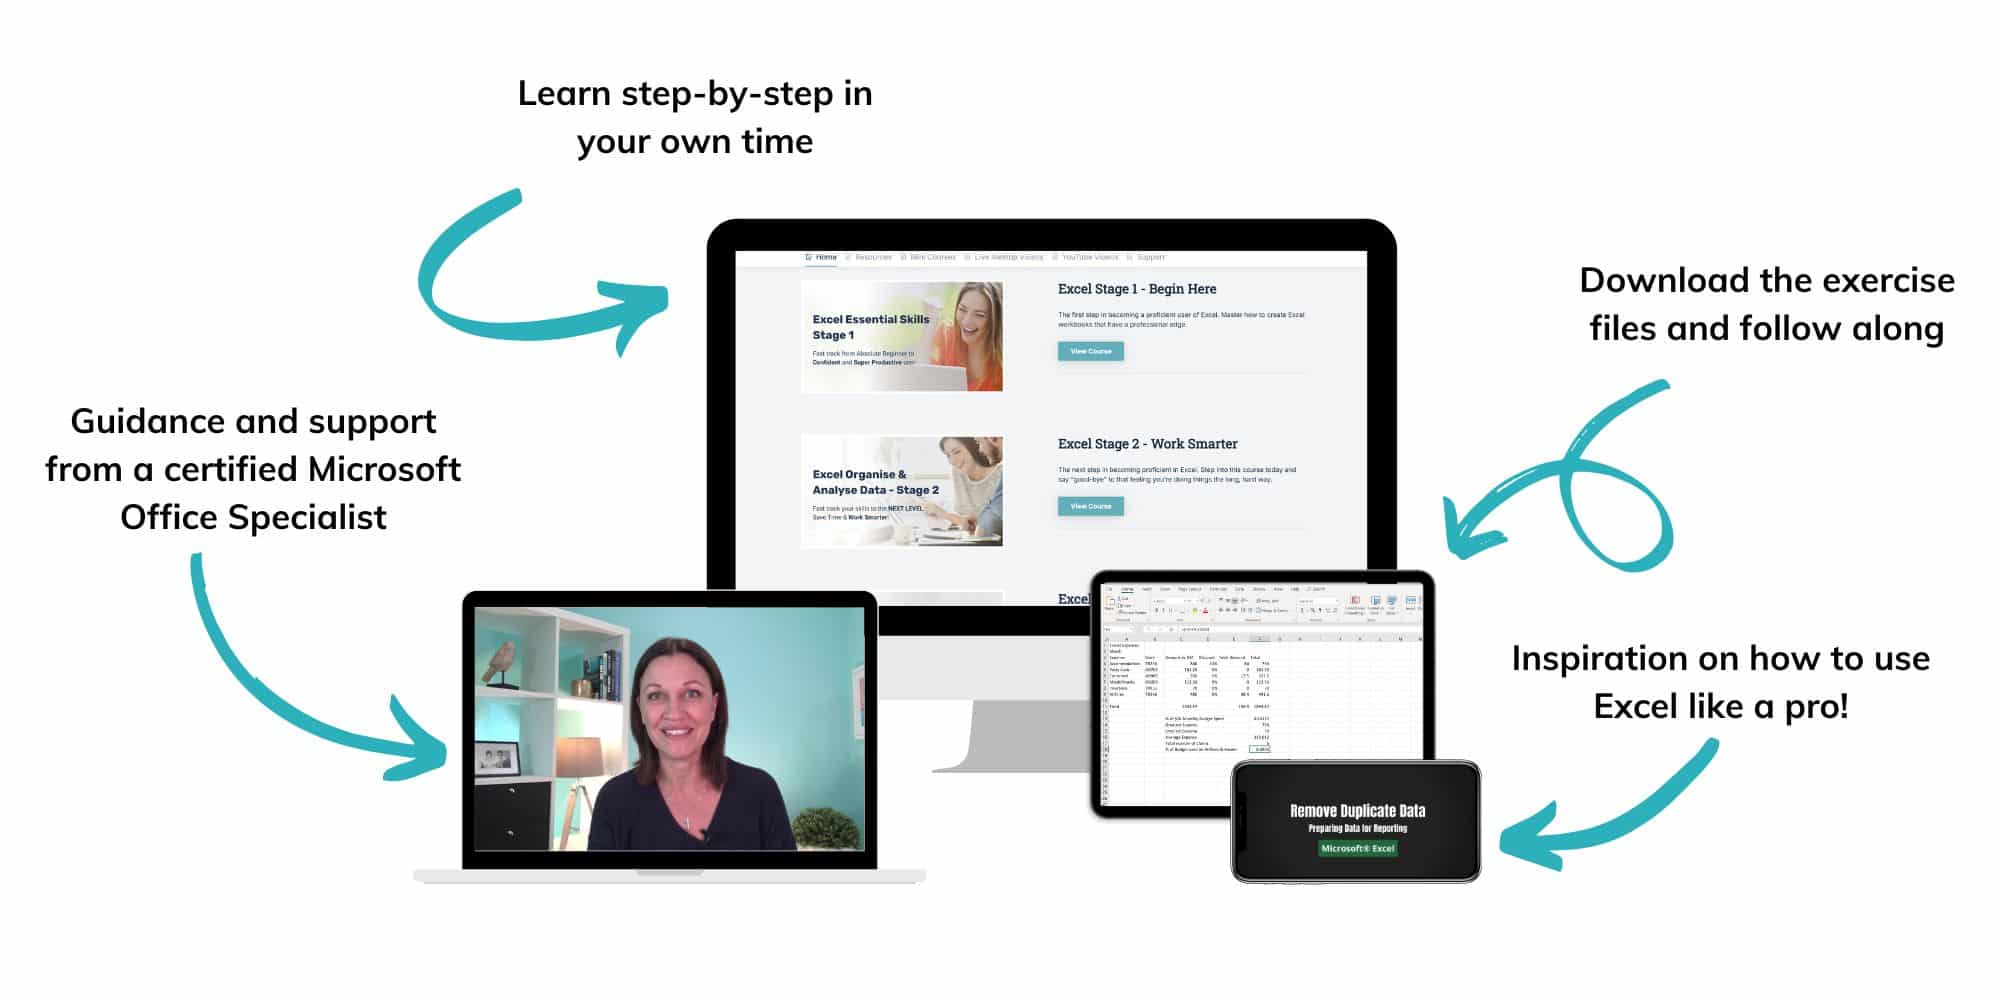
The Excel at Work Learning Hub is an online self-paced Excel training membership designed for people who use Excel at work—in offices, on sites, in schools, in small businesses, and everywhere in between.
Go from Beginner to Confident – Guaranteed!
Only $59NZ /month
Cancel anytime • No pressure • 14-day 100% Money Back Guarantee

Certified Microsoft Office Specialist
Was this blog helpful? I’m here to empower your journey with Excel, aiming to make your daily tasks more efficient and boost your potential.
Share your thoughts in the Comments below – your insights not only enrich others, they also help me tailor future content to your needs.
And if you’re looking to take a step further, join our exclusive ‘Insider Group‘. As a member, you’ll receive Weekly Super-Tips, and early access to in-depth tutorials. Sign up Today!
Happy Excel-ling!!