Are you looking to unlock the full potential of your Excel workbook but feel stuck behind a password barrier? You’ve come to the right place. “How to unprotect Excel workbook” is not just a query; it’s a gateway to unleashing your data’s potential.
Adding protection to your Excel sheet or workbook is a savvy move to safeguard your data, but there are moments when those safeguards need to be lifted to allow for necessary modifications.
Fear not, for we’re about to embark on a journey of liberation, where unlocking Excel workbooks and worksheets becomes a breeze. Let’s delve into the art of unprotecting Excel workbooks, even when the password isn’t available.
How to Unprotect Excel Sheet
A good indicator of the protection status of your worksheet is when you try to enter data into the sheet only to see the Microsoft Excel Error message;
“The cell or chart you’re trying to change is on a protected sheet. To make a change, unprotect the sheet. You might be requested to enter a password.”
This means the worksheet has been protected, and the cell you were trying to modify is locked and unable to be edited.
You can also go to the Review tab and check if the sheet is protected. Look for the Unprotect Sheet button. If it’s there, your sheet is currently protected.

To unprotect the sheet, follow the steps below.
Step 1: From the Review tab, in the Changes group select Unprotect Sheet.

Step 2: If required, type in your password to unlock the worksheet. You must type in the password in the same case you used when you applied the password.

Tip: If you have lost the password, please follow the steps below to unprotect an Excel sheet or workbook without the password.
Step 3: Click OK.

The protection will now be removed.
Step 4: Save your file. You will now be able to edit the cells that had been locked while the sheet was protected.
How to Unprotect Excel Workbook
When a workbook is protected, many of the options that allow us to change its structure are disabled.
For example, options like Insert, Delete, Rename, Move or Copy, Hide, and Unhide are greyed out and cannot be selected.

To enable these options, you will need to unprotect the workbook.
Step 1: From the Review tab, in the Changes group, click Protect Workbook.

Step 2: If a password was applied to the protection, you would need to type the password into the Unprotect Workbook dialogue box.
Tip: If you have lost the password, please follow the steps below to unprotect an Excel sheet or workbook without the password.

Step 3: Click OK.

Step 4:Save your file.
Your workbook will now be unprotected, and you can now make structural changes to it.
How to Unprotect Excel Workbook or Worksheet Without Password
There are times when you will need to unprotect an Excel sheet or Excel workbook when you no longer have the password.
A good example of this is when a member of your team leaves and you take on the responsibility of their Excel files, only to find you can’t make updates without a password.
Thankfully, there are workarounds.
Unprotect Excel Worksheet & Workbook using Google Sheets
Google Sheets is an online spreadsheet software similar to Microsoft Excel.
You can access it for free when you have a Google account. If you don’t have a Google account yet, you can easily sign up for one or ask a colleague who does to offer you some assistance with the next steps.
To bypass the password protection on your Excel file, we will need to upload it to Google Sheets.
Step 1: In Google Sheets, click the folder on the screen (Open file picker). An Open a file box should appear.

Step 2: Select Upload.

Step 3: Select the Excel file from your device.

The file should now be displayed in your Google Sheets list of files.
For this example, we will use the file ‘Monthly Expenses Protected workbook with pwd’.
This file has a ‘Jun’ sheet protected in Excel with a password. Additionally, the entire workbook has been protected so that users can’t make structural changes without the password.
Step 4: Open your file in Google Sheets by selecting it.

The file will open in Google Sheets.

Note: If your browser displays the message “You can open this in view only mode or edit in Google Sheets“, click Edit in Google Sheets.

You should now be able to edit the workbook in Google Sheets without needing a password, even though it was password-protected in Excel.
This shows that the protected worksheet doesn’t have the same layer of protection in Google Sheets as it did in Excel, which is something to be mindful of when sharing Excel files.
Step 5: Now, click File, Download, Microsoft Excel and save your updated file.

Step 6: Open the updated file in Excel, and the sheet and workbook will be unprotected.
Unprotect Excel Worksheet & Workbook Editing the XML file
When attempting to remove protection and passwords through Google, it’s important to note that this method can occasionally strip away formatting from your files, which is less than ideal.
However, you can sidestep this issue by taking more advanced measures, such as editing the workbook or worksheet XML file.
To learn how to do this effectively, explore the detailed steps outlined in this excellent YouTube video Unprotect Excel Worksheets & Workbook editing the XML file.
How to Remove Password from an Excel file
For Excel files that require a password to open or modify them, you will need to know the password in order to remove the password from the file.

Note: Many third-party apps are available for purchase that claim to remove the password from Excel files. I haven’t personally tested any of these, so I can’t give any advice as to which of them actually work.
Step 1: First, open the Excel file. You will need to use the password to do this.
Step 2: Press F12 to open the Save As dialog box.
Step 3: Select the Tools option, then click General options.

Step 4: Delete the password or passwords. You might also like to remove the check from the Read-only recommended option box.

Step 5: Click OK.
Step 6: You now need to save these changes to your file. Click Save.
Step 7: A warning should pop up asking if you want to replace the existing file. Select Yes if you are happy to save over the original file. If not, click No and give the file a new name.

Note: Excel files that require a password to open or modify them are still password protected when accessed in Google Sheets. When you open your file in Google Sheets, a message will appear: “Please enter this document’s password to view it.” If you don’t have the password, the file cannot be opened.

Was this post helpful? Please let me know in the comments below.
Loved This Tip? Learn Even More in the Excel Learning Hub
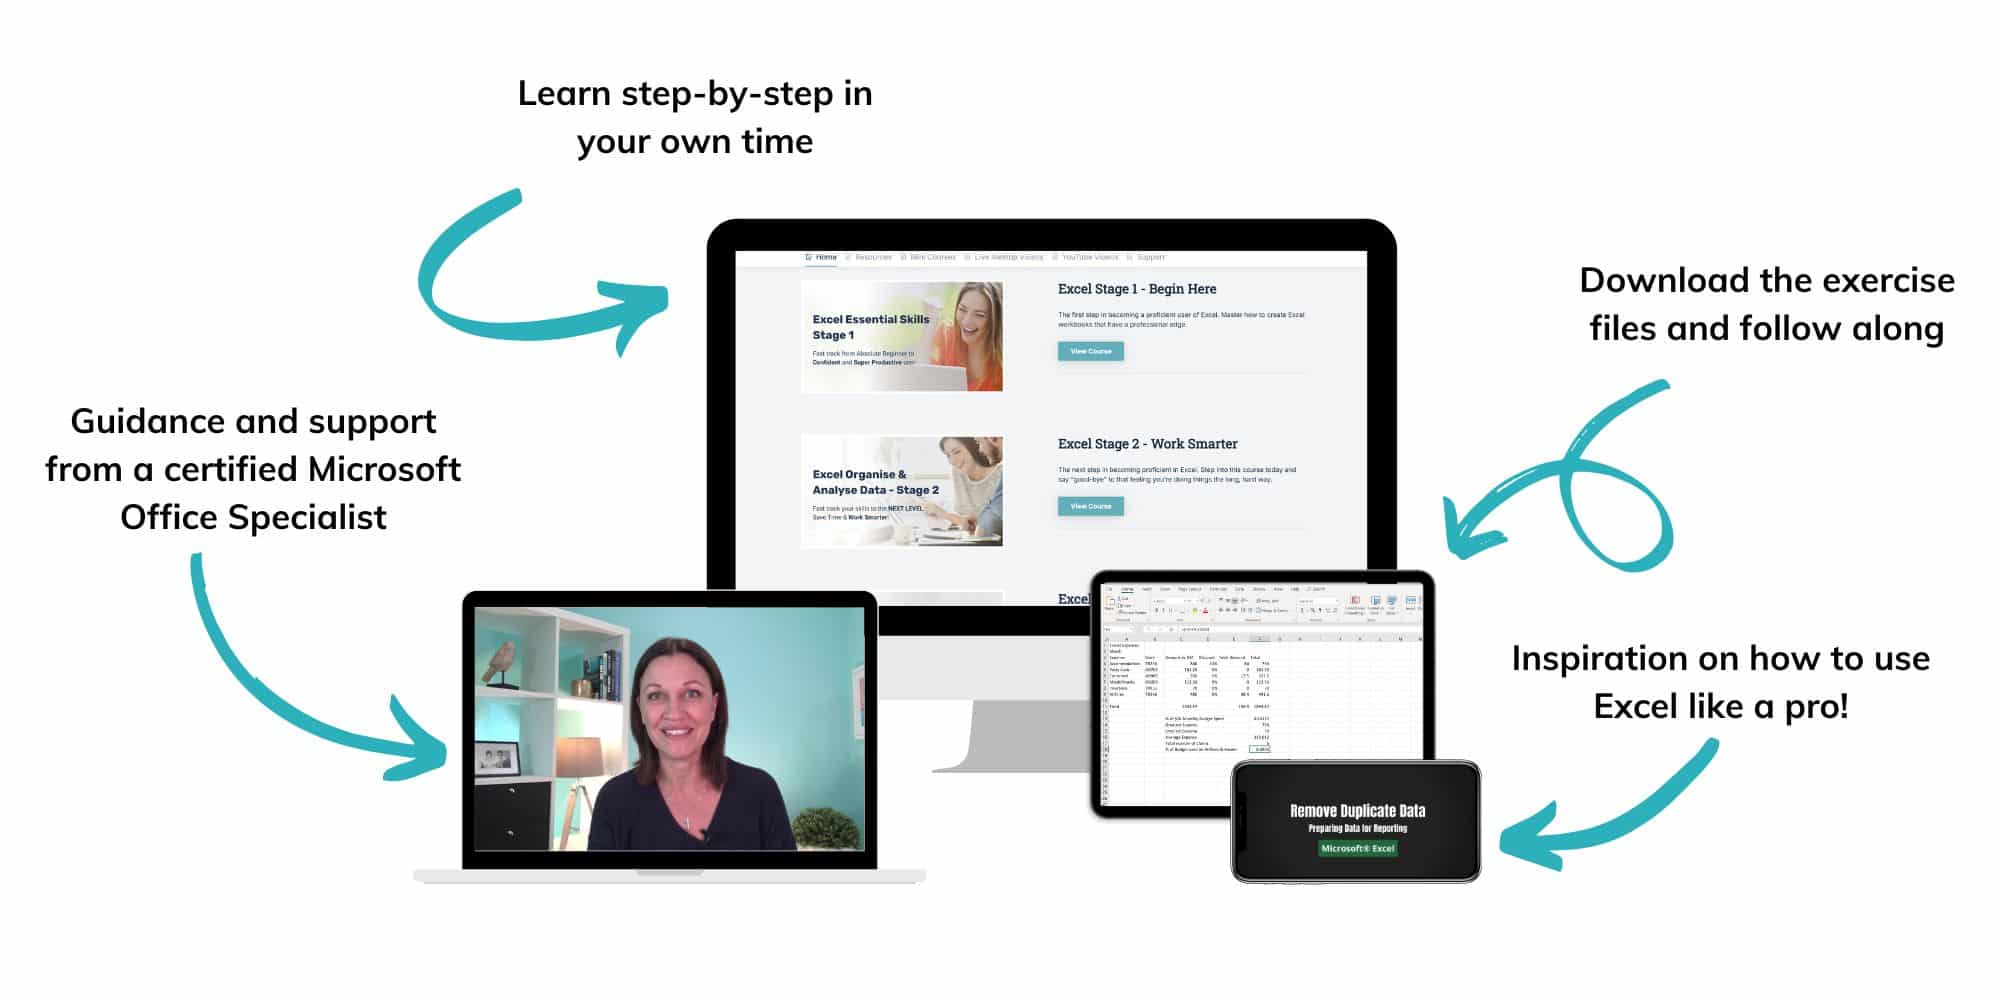
The Excel Learning Hub is an online self-paced Excel training membership designed for people who use Excel at work—in offices, on sites, in schools, in small businesses, and everywhere in between.
Go from Beginner to Pro with this Guaranteed Confidence-Boosting Program
Only $59 /month
Cancel anytime • No pressure

Certified Microsoft Office Specialist
Was this blog helpful? I’m here to empower your journey with Excel, aiming to make your daily tasks more efficient and boost your potential.
Share your thoughts in the Comments below – your insights not only enrich others, they also help me tailor future content to your needs.
And if you’re looking to take a step further, join our exclusive ‘Insider Group‘. As a member, you’ll receive Weekly Super-Tips, and early access to in-depth tutorials. Sign up Today!
Happy Excel-ling!!